Dacia MediaNav (Evolution) sat navs can be enhanced with additional POI's and the locations of stationary and potential mobile safety cameras with POIbase. Technically, idenitcal models used in Opel and Renault (Captur) cars are likely also compatible. If you would like to test this, please contact our support with details regarding the sat nav you are using. The POI's are installed on the sat nav via a USB stick.
POIbase is compatible with the following Dacia (Opel & Renault) systems:
- Dacia MediaNav (MN1)
- Dacia MediaNav Evolution (MN2)
- Dacia MediaNav 3 (MN3)
- Renault MediaNav Evolution (tested so far only in Renault Captur Intens 09/2019)
- Renault MediaNav (based on Android software version 1.0.13.3) in Renault Captur 05/2019 erfolgreich getestet - please watch the Media Nav 3 video)
- Opel MediaNav (untested)
(Enable subtitles at the bottom right for English subtitles).
Features & Notes
- Manual system selection in POIbase or POIbase Web Edition (browser version)
- Safety cameras can be displayed on the map, sorted by type.
- Audio and visual warnings when approaching safety cameras (direction-sensitive)
- POI's can be displayed on the map and when selecting a destination (including Brand Icons)
Downloading POI's via POIbase
- Download and install POIbase for PC.
- Insert a FAT32 formatted USB stick in your computer.
- Choose "Manual Selection"; scroll down and pick "Dacia MediaNav".
- Select the USB stick as the destination directory.
- Log into POIbase or create a free account if you haven't got one.
- Select the POI categories you wish to download under:
"Load POI's and Speed Cams Download Speed Cams" or "Download POI's". - You can continue browsing categories using the back button, and double check your choices under "My Selected POI's". Once you have finished selecting the POI's you wish to download, confirm your selection via the yellow Download button at the bottom right.
Installing the POI's in your Car (MediaNav 3 Evolution from YOM 2019)
- Third generation sat navs are Android-based.
- After download, the following folders will be on your USB stick:
Folder autorun_bavn
Folder nng - How to install your POI’s on your sat nav in the car is explained in the video below
- Tip: Leave the ignition on during installation, as otherwise the sat nav will turn off automatically after a while. However, if this does happen, the installation will continue where it broke off when you turn the sat nav on again.
Tutorial on how to install POI’s on a Dacia MediaNav 3 (enable subtitles for English):
Installing the POI's in your Car (MediaNav 2 Evolution)
- The following folders and files should now have been created on your USB stick:
File SpeedcamUpdates.spb
File ULC2_recovery.exe
Folder Userdata - Insert the USB stick after starting the car, but before turning the sat nav on. You will recieve a message suggesting there is no media data on the USB stick, which can be ignored.
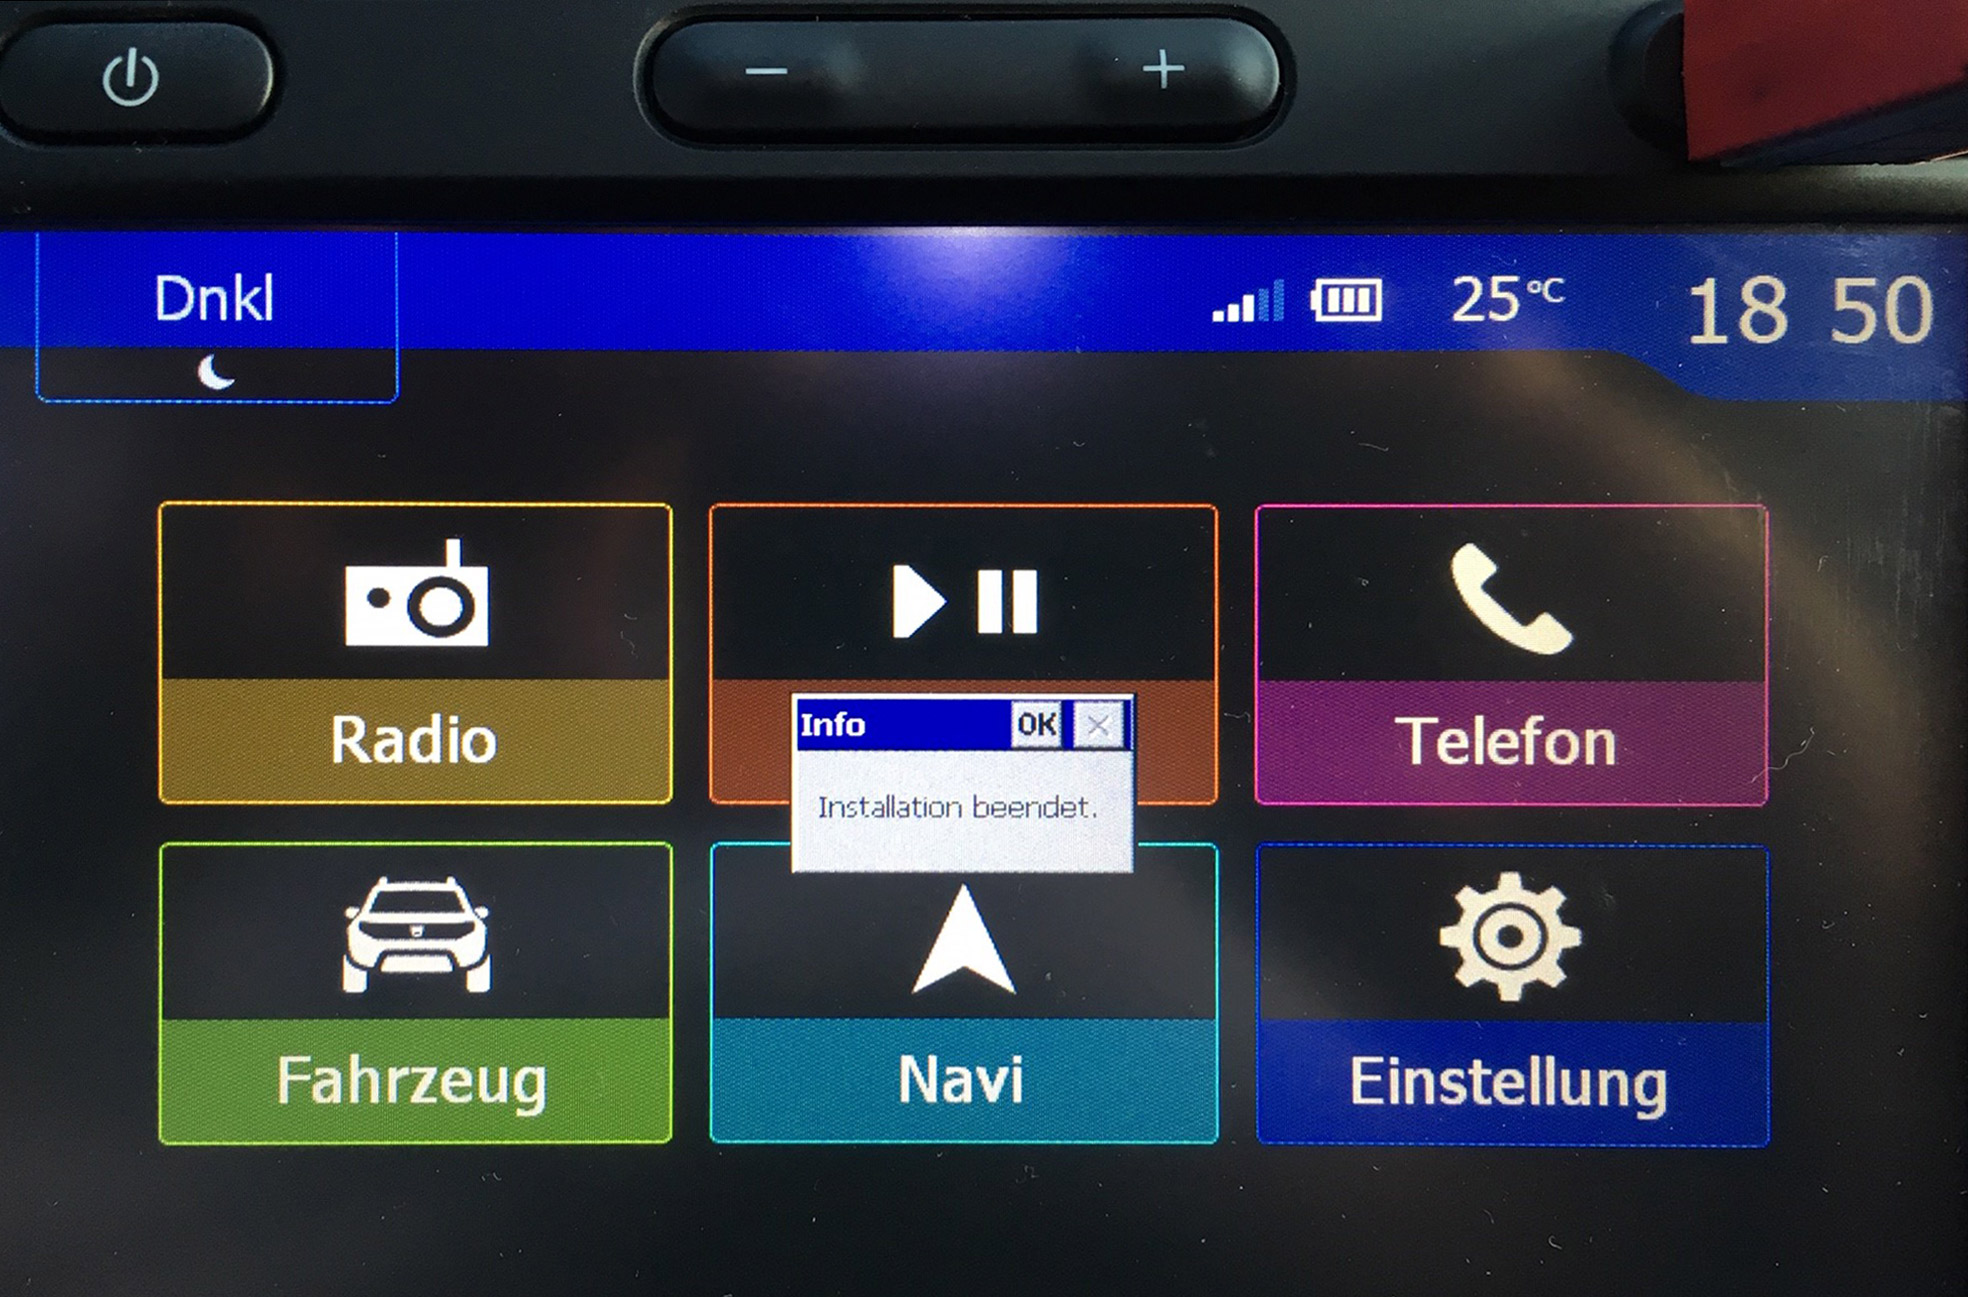
- After a few seconds, a message will pop up saying the installation is complete. Confirm this with "OK".
- The POI's have now been installed and you can remove the USB stick.
- In the video above, the settings for POI’s and speed cameras are explained from 4:50. The procedure is same for all Dacia sat navs.
Installing the POI's in your Car (MediaNav MN1)
Unfortunately, installing POI's on the MN1 is somewhat more complicated and requires a few more steps in the car. You will find detailed instructions here (German only).
Settings in Dacia Sat Navs
- After removing the USB stick, stop and then restart the ignition.
- Turn the sat nav on again and go to "Destination Options Map Settings Map Icons" (n/a if you only downloaded safety cameras).
- Set the option "POIbase" to "On" to display the icons on the map.
- Use the arrow keys to skip back two levels, go to the menu item "Warnings" and activate "Alert Points". Safety cameras will then both be displayed on the map and you will receive audio warnings when approaching them.
Using POIbase Web Edition
POIbase Web Edition can be accessed under: POIbase Web Edition
Log in or Create an Account
POIbase can currently only be used by registered users and it is imperative a valid email address is entered during free registration, as the POI data will be sent to this address.
 Select System
After logging in / registering, scroll down the "Manual Selection" pop up window and select Dacia MediaNav. POIbase saves your selection, so you will only have to do this once, unless you opt to change device.
Create a POI-Export Request
 Go to"Load POI's and Speed Cams Download Speed Cams" or "Download POI's" and select a category, then click through the sub-categories using the "Add" button to select any category you wish to download. Use the Back button to return to the main categories. You can double-check your choices under "My Selected POI's".
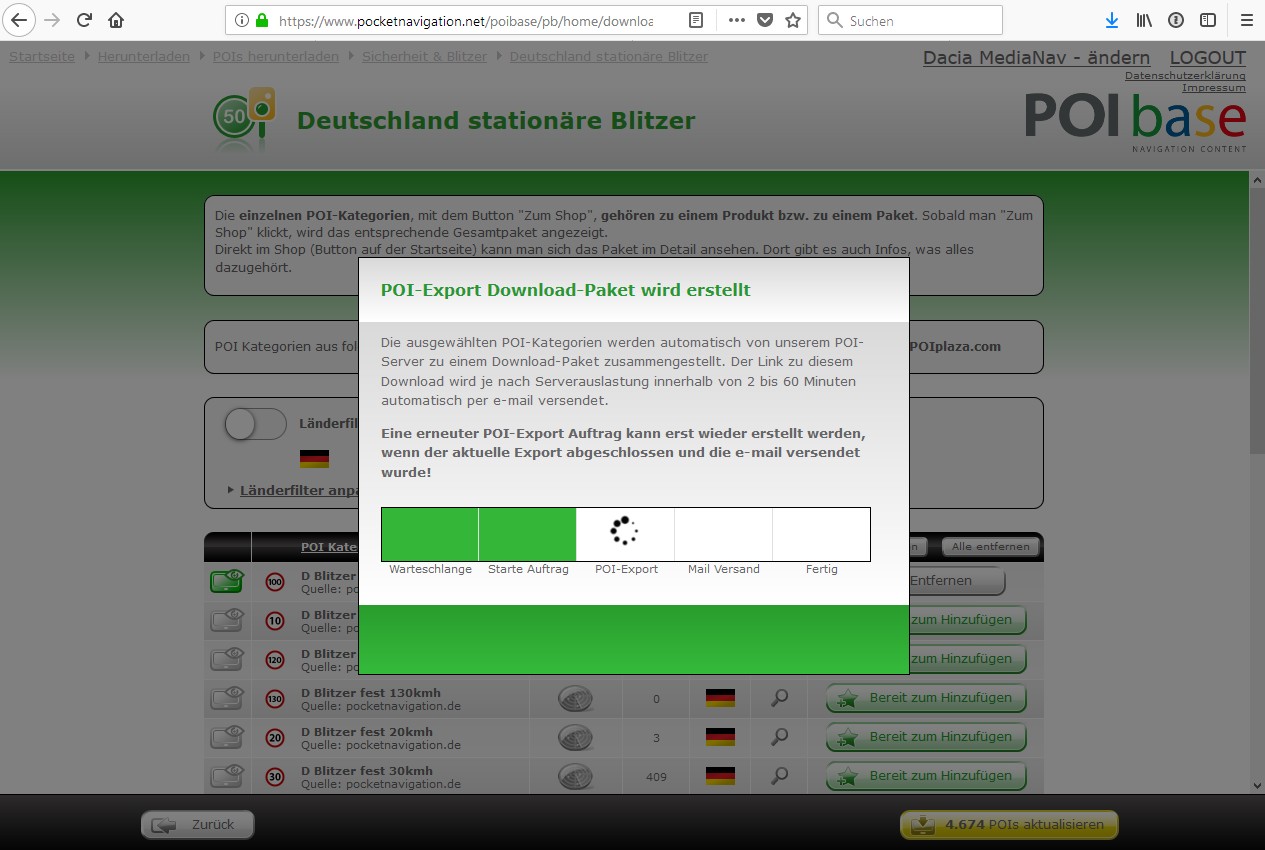
Once you are happy with your selection, use the yellow "Download" button on the bottom right of the screen to start the POI export.
Our server can take between 1 and 60 minutes to process the request, after which the download link will be sent to the email address used when registering. While the request is being processed, you cannot change your POI selection or send further requests.
Download the POI-Paket
Click the download link in the email you received and unzip the file locally (on your PC/Mac), choosing a destination you can find again easily. The file name is composed of a numerical string similar to this: 447894-2018-10-09.zip, where the latter part of the number refers to the date of the POI export.
Prepare the USB Stick
After unzipping, copy the following files and folders to an empty FAT32 formatted USB stick:
File SpeedcamUpdates.spb (only if safety camera data was downloaded)
File ULC2_recovery.exe
Folder Userdata (only if POI's other than or as well as safety cameras were selected).
Once the data has been installed on the USB stick, it can be transferred to the sat nav in your car. If you have a Dacia MediaNav 3 or Renault Captur Media Nav based on Android, please refer to the video below (enable subtitles for English). If you have a Dacia MN1 or MN2 (Evolution 2), select the "Instructions" tab above, and refer to the relevant section.
